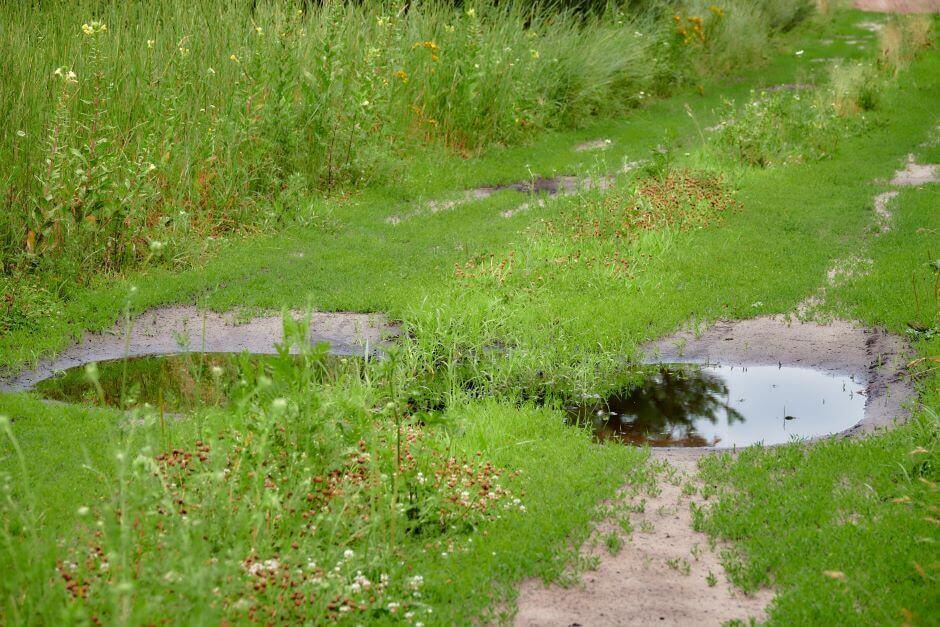
From the several forms of dealing with pooling water, having a dry well for yard drainage is one of the most effectives. Rain is one of the most essential elements to our gardens, but, when it is not well controlled, it can cause significant damage.
Localized flooding areas, erosion, mold, rot, and even flowerbeds being washed away are some of the headaches you — and your neighbors — might face. No one wants a wet sidewalk or a drowned lawn. So, dry well drainage could be the solution to your current and future problems.
Continue reading to check the benefits of this out-of-sight drainage option and how to build it in your home.
Why Go for a Dry Well Drainage System?
The natural path of rainwater is to be drained into the soil. When there is concrete over a large area, it will run to the lowest point around. Even when there is soil area to absorb water, its texture might not be efficient to do the whole job alone.
In your home, when rainwater comes down from the roof through the downspout, it probably builds up right around its exit. The dry well drainage will be placed at the lowest point of the yard – where water runs to – and will collect it to dissipate it evenly and gradually into the soil.
That will avoid pooling in the grass and pavement damage.
How to Build a Dry Well

Installing a dry well for yard drainage can be simple for some, but the resource should be well installed to work properly. To guarantee an appropriate installation, follow these steps.
- Choose the location: it should be at the place water builds up after heavy rain, typically near the downspout. Plus, be sure to install it 10 feet away from the house to avoid damage.
- Dig the hole: it should be 4 feet wide and deep. Dig the ditch from the downspout to the hole – it can be 12 inches deep and 6 inches wide. Remember the ditch has to be a little declined for water to run down to the dry well.
- Set the pipes: attach an adaptor and an elbow to the downspout. Set non-woven fabric in the ditch and lay the drain pipes over it along the ditch until the dry well hole.
- Fill the dry well bottom: 2 to 3 inches of it, with gravel stones, spread them evenly, and cover the whole bottom.
- Install the tank: it can be a purchased drain tank – which is not expensive – or a big bucket covered with many small holes drilled on its surface and non-woven fabric around it.
- Connect the pipe into the tank: and fill the remaining space in the hole with more gravel stones. They should reach the surface of your yard. For the ditch, you can cover it with gravel or soil.
After all of this, you can decorate the surface with rocks and even some flowers to make the gravel dry well functional, and pleasing to look at!
If you are not keen on doing all of that on your own, don’t hesitate to call our licensed contractors. They will build you an efficient dry well for yard drainage that will avoid unnecessary problems and expenses.